


Information
|
Mailbox Colours |
|

|
|
|
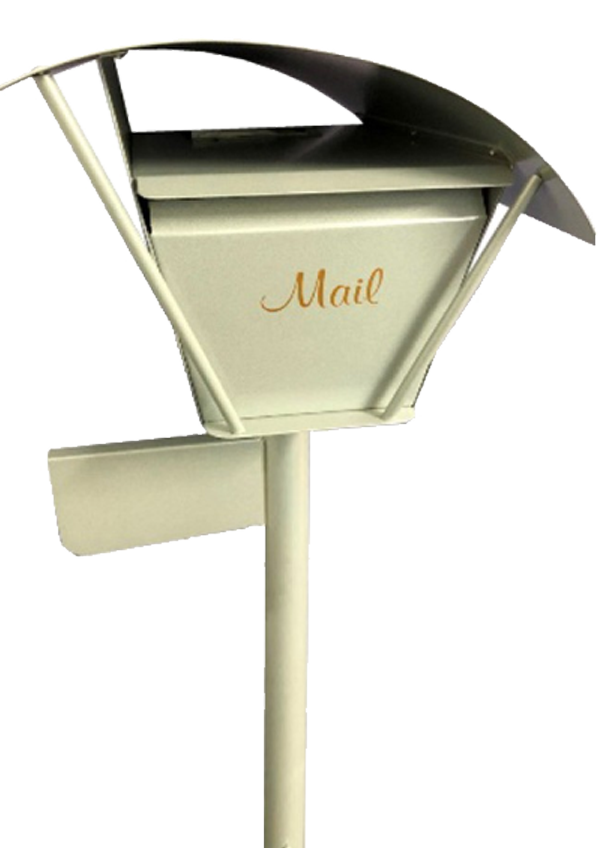
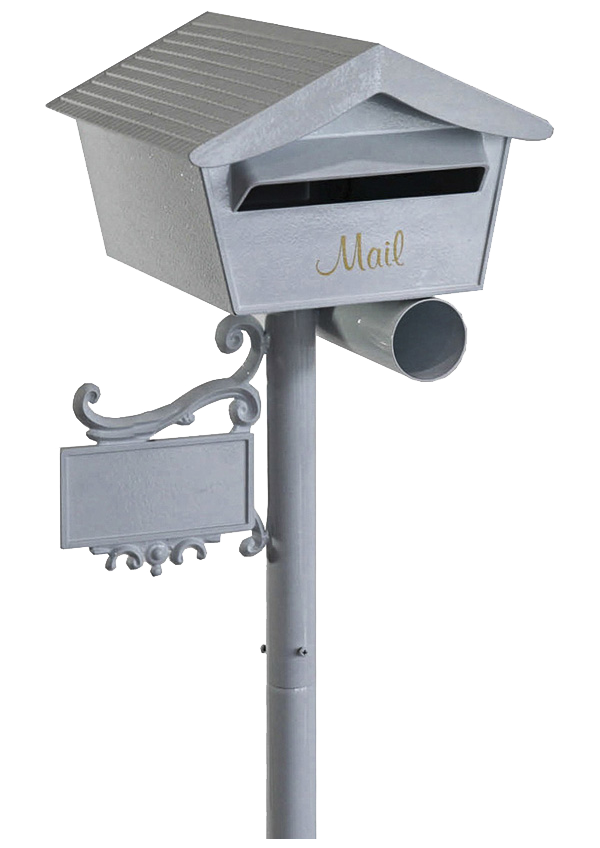
Letterbox Style |
|
|
|
The Opening Statement to Your Home Do you know that the letterbox is the first thing a person looks for when they come to visit you? It is generally accepted that this is where your street address number is. Many styles and colours of mailboxes are available in today's market to match your house style, to or suit your individual taste. |


|
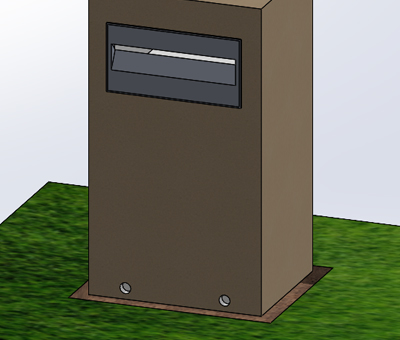
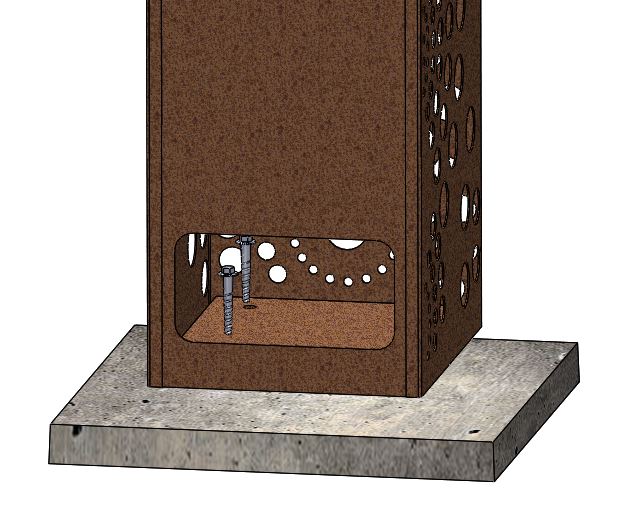
Installation Details for a Standard Letterbox Step 1 - Dig a Hole Step 2 - Add Concrete Mix and Set Post Do not move or unsettle the mailbox while the concrete is curing. Do not use Rapid Set as it is not recommended to be used with aluminium product. |
 |
|
Installation Details for Premium Series Synthetic Pier Mailboxes (Moderna & Vectra) 1. Level the ground where the letterbox is to be positioned and ensure this area is approximately 100mm larger than the FITTING NUMBERS PAINTING PROCEDURE (important) |
|
|
|
|
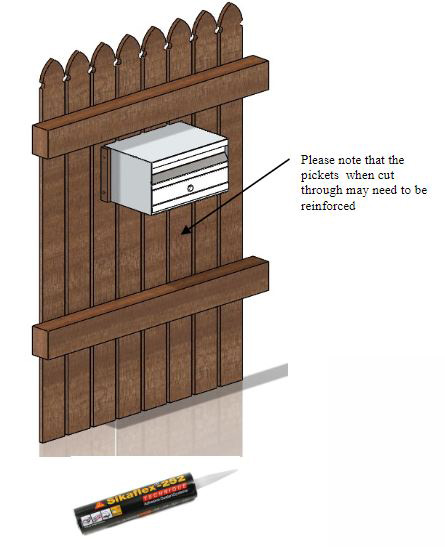
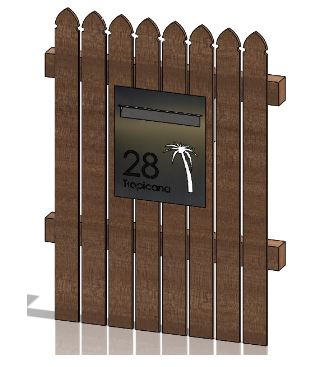
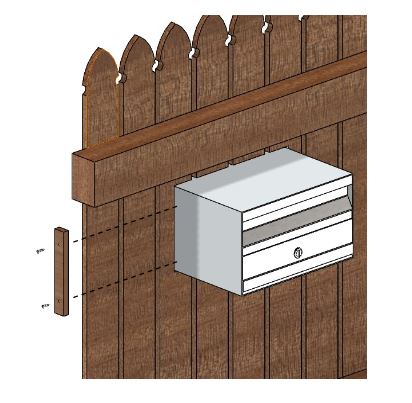
Installation Details for a Fence Box Many various methods are used when fitting mailboxes into fences, primarily because there are many varying fence designs such as, Timber Picket, Lattice, Pool Fencing, Colourbond and many more. Henceforth it is left to the installer to come up with the best installation method used in retaining their mailbox is securely in place. With over 25 years of selling fence boxes we very seldom get posed the question, “how do you install them” and we have seen many creative solutions however our recommendation is based on the principle as follows; 1. Neatly cut a suitable sized hole to accept the mailbox body size. Please do not detract from the finish of the faceplate by drilling holes through it and using screws to install your mailbox. |
 |
 |
 |

